An impressive virtual tour doesn’t depend on the most expensive equipment on the market. It depends on a series of precise settings applied before, during and after the shoot. Overlook just one detail—white balance, tripod height, scene order—and a promising result can become a mediocre experience. Here are the settings that distinguish an amateur tour from a truly professional product.
Privacy and pre-shoot checks
Before you even turn on the camera, inspect the property. Personal documents left on a desk, family photos on the walls, reflections in mirrors or views through windows can reveal private information about the occupants.
This isn’t just a matter of courtesy. Publishing a virtual tour that contains identifiable information can expose the photographer and their client to legal issues relating to image rights and privacy. Checking every panorama before stitching avoids having to reshoot or blur details afterward, which degrades image quality.
In practice, walk through every room with your smartphone. Photograph anything that needs to be put away or concealed. Send the list to the owner the day before the shoot: mail on the table, computer screen left on, ID badges, license plates visible through the window. This careful preparation is the first step in creating a high-end virtual tour with Lamaison360, and it costs nothing.
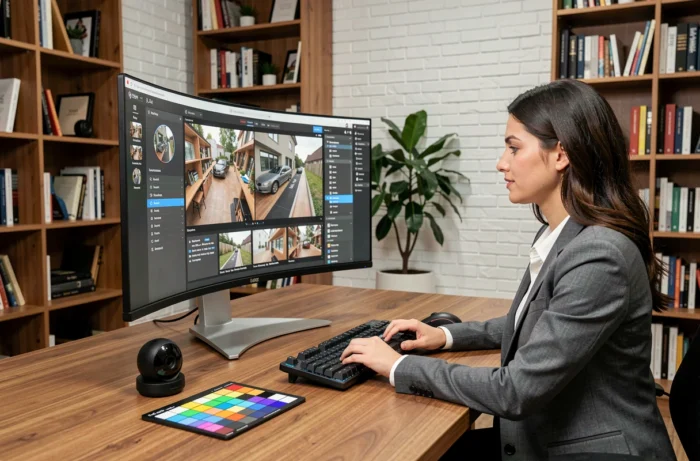
Virtual tour photography settings: lighting and exposure
Have you ever noticed virtual tours where a window appears completely white while the rest of the room looks gray? This flaw has a name: exposure imbalance. It needs to be corrected before capture, not afterward.
White balance and HDR
White balance determines the overall color tone of an image. In automatic mode, the camera adjusts this setting at each position, creating color variations from one scene to the next. Setting the white balance manually for the entire shoot ensures visual consistency across all the rooms.
HDR bracketing (merging multiple exposures) is the standard technique for handling differences in brightness between indoors and outdoors. Three to five shots per capture point are sufficient in most cases. Going beyond five increases processing time without any visible benefit for the viewer.
Natural or artificial lighting
The ideal approach is to combine both. Turn on all interior light sources (ceiling lights and lamps) to eliminate shadowy areas, then let natural light in through the windows. Avoid shooting in direct sunlight, which creates overly harsh contrast.
- Turn off fluorescent lights, which can produce flicker that’s imperceptible to the eye but visible in stitched panoramas.
- Turn off TVs and screens, which can create unwanted bands because their refresh rate doesn’t match the shutter speed.
- Close the blinds halfway if sunlight is shining directly through a window: HDR can handle a difference in brightness, but not direct glare.
Capture height and tripod positioning
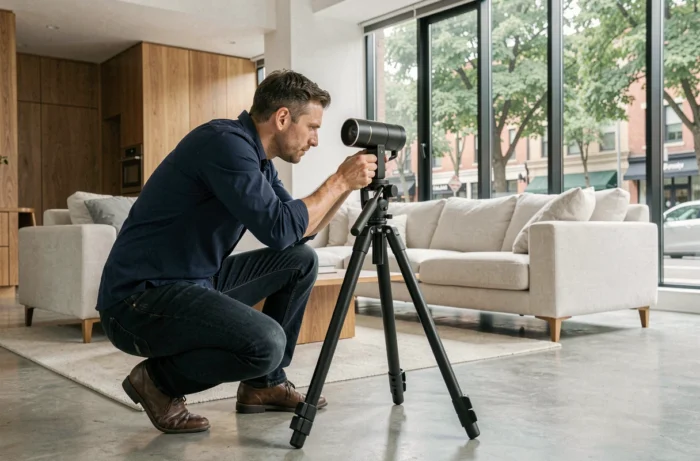
Tripod height can dramatically change how a space feels. Too low, and visitors feel as if they’re moving around crouched down. Too high, and rooms appear smaller than they really are.
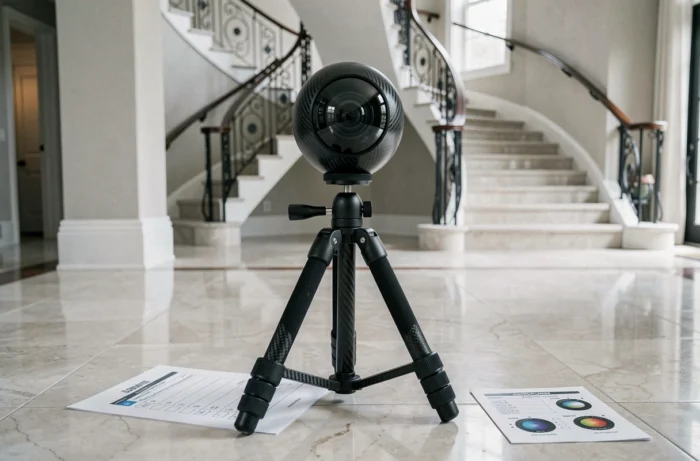
Positioning the camera between 1.20 m and 1.50 m above the floor replicates the natural eye level of a standing person. This range works for most residential and commercial spaces. In a loft with very high ceilings, raising the camera slightly (to around 1.60 m) captures the volume more effectively.
Horizontal positioning matters just as much as height. Place the tripod in the center of the room or the main circulation area, never against a wall. Keep at least one meter between the camera and nearby objects: furniture placed too close to the lens will look distorted, especially with the wide-angle lenses used by Matterport-style cameras.
Seamless navigation and connections between scenes
A professional result is about more than beautiful images. Navigation needs to feel intuitive to someone unfamiliar with the property. This is where many productions fall short: the photos are flawless, but visitors get lost between floors or don’t know how to return to the entrance.
The test recommended by industry professionals is simple: ask someone unfamiliar with the property to find a specific room on their phone, then return to the starting point. If they hesitate or turn back several times, there’s a problem with the connections between your scenes.
Spacing and capture order
Capture scenes in the order someone would naturally move through the property. Start at the entrance, then work through the rooms and floors in sequence. The distance between two capture points should never exceed the range at which both scenes still share visual reference points, such as a piece of furniture or a doorframe.
- In a hallway, plan a capture point every two to three meters to avoid abrupt visual jumps.
- In a large open-plan room, include at least two capture points so visitors can move around without being teleported.
- At transitions between floors, capture the landing and the first few steps so the connection via the staircase remains clear.
Quality checks before publishing: mobile and embedding
The final step isn’t a software setting. It’s a validation process. Testing the result on mobile is just as important as the capture itself. Most visitors will view the tour on a smartphone, not on the photographer’s calibrated monitor.
Check how long the final link takes to load on a standard 4G connection. Test touch navigation: pinch to zoom and swipe to rotate. Make sure contact details and embedded annotations remain legible on a small screen.
Also test the tour on the destination website. An incorrectly sized iframe or a player that overflows its container can ruin the impression of quality, even if the tour itself is flawless. Open the link outside your production session, in a different browser, to replicate the experience of a prospective client clicking through for the first time.
A professional virtual tour is shaped as much by what you prepare in advance as by the technology you use. Preparing the property, maintaining consistent exposure, positioning the tripod, planning a logical route and testing on mobile: apply these five steps consistently, and visitors will experience a smooth, natural tour without ever wondering why.